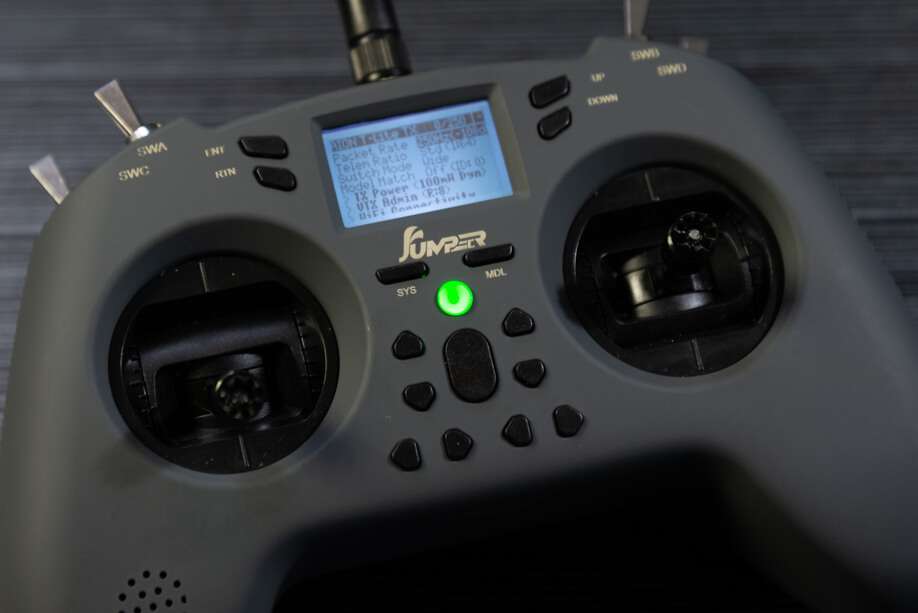
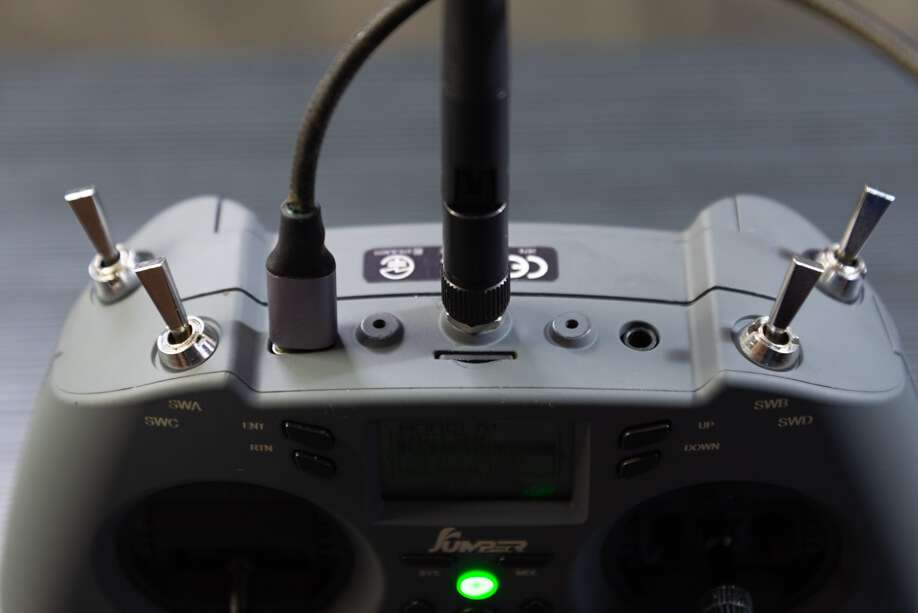
Internal Jumper TLite V2

Flashing/Updating your TX Module Firmware

Heads up!
This option is only possible if you haven't previously flashed or configured your TX Module with your Home WiFi SSID and Password or if it's unable to connect to said WiFi Network because the router is Off or unreachable.
-
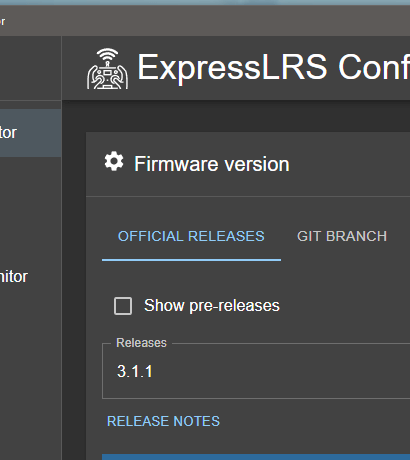
Launch the ExpressLRS Configurator on your Computer.
- Make sure
Official Releasesis active from the horizontal tab. - Ensure you select the Released version you want to flash into your TX module.
- Make sure
-
Select the Device Category and Device target matching your hardware.
-
Device Category:
Jumper 2.4 GHz
-
Device:
Jumper AION T-Lite 2.4GHz TX
-
-
Set the Flashing Method to
WiFi. -
Set the firmware options for your device.
- Regulatory Domain (Mandatory. Choose the domain appropriate for the location or country you're flying).
- Binding Phrase (Optional, but Highly Recommended. Note this phrase as it should be the same on your other devices, or they will not bind or sync).
- Local WiFi Network Credentials (Optional. Will be used the next time the device goes into WiFi mode).
-
Click the Build button.

-
Once the Build process is done, a Temp folder window containing your firmware binaries should pop up.
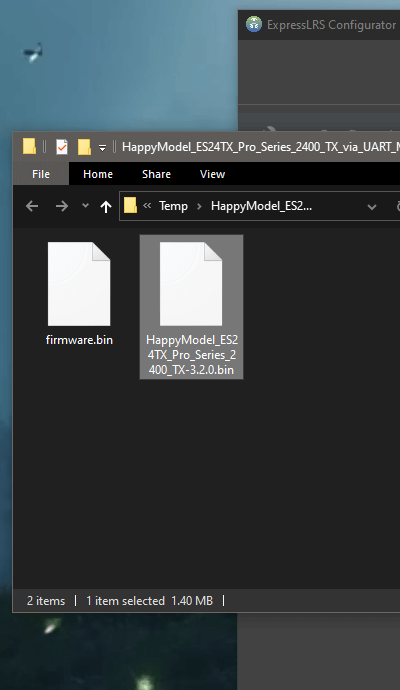
- Do not close this Temp folder because this is where you will take your firmware from in the later steps. If you are planning on using your phone or tablet to upload the firmware file later, copy the firmware file into your device.
NOTICE
With the release of ExpressLRS 3.3.0 and ExpressLRS Configurator 1.6.0, only one file will show up. Use the
firmware.binfile for the next steps. -
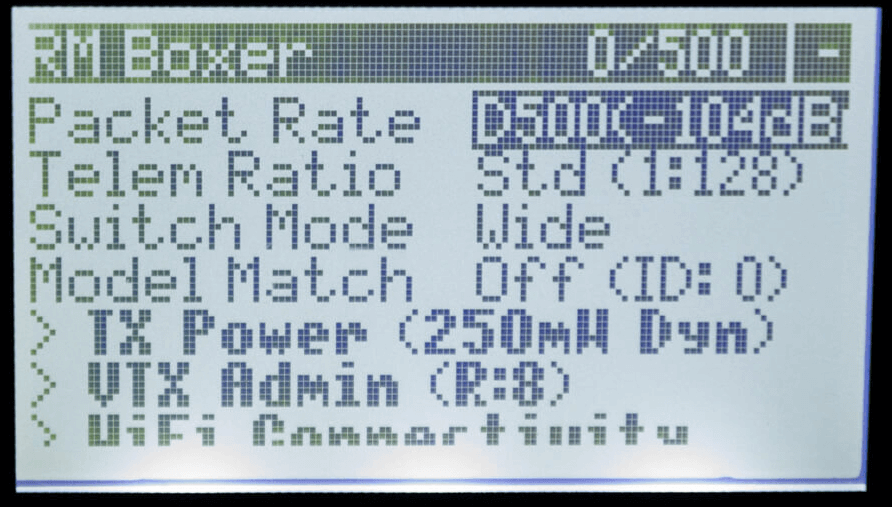
Long-press the SYS Key on your Radio to display the Tools page, where you can find the Lua Scripts.
- Consult your Radio User's Manual on how to access the System Menu.
-
Scroll down and select
ExpressLRSLua Script.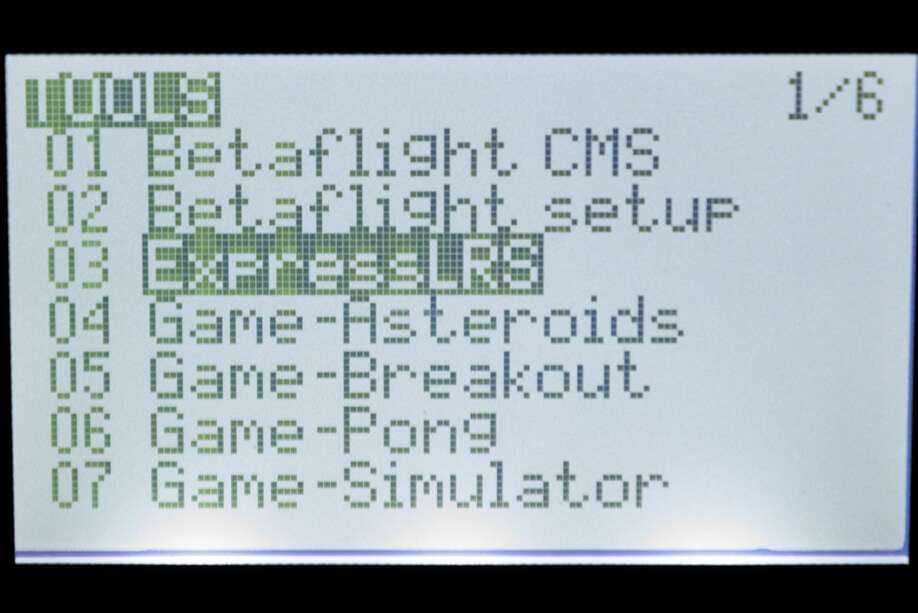
- If the script is nowhere to be found, download it from this page and save it into your Radio SD Card Scripts/Tools/ folder.
-
Press Enter to Load it.
- If the script is stuck on a "Loading..." screen, return to the Radio Preparation Page and make sure you have configured your radio properly for ExpressLRS use.
-
Scroll down and select
Wifi Connectivityand press Enter. -
Select
Enable WiFiand press Enter.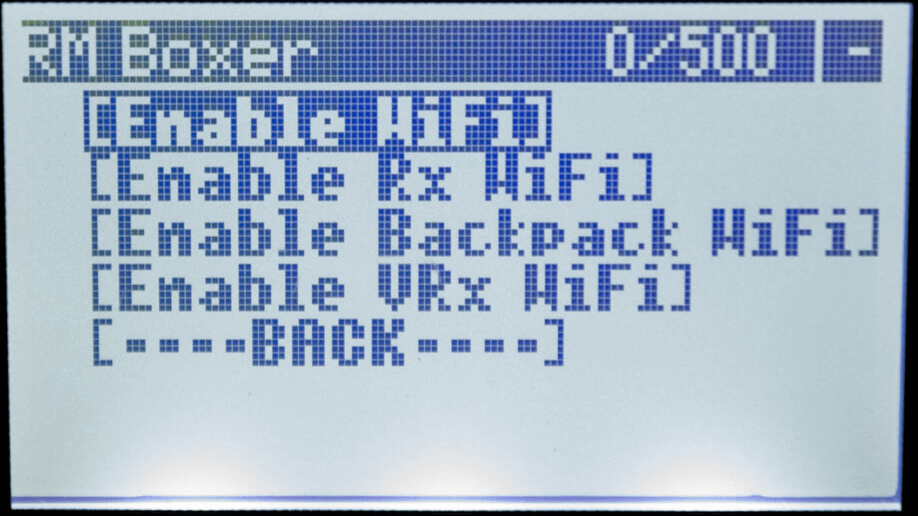
-
The
WiFi Runningscreen will show up. Your TX module is now in WiFi mode.- Do not worry if the Script stops and shows a Syntax Error. The module is still in WiFi mode. The Syntax Error could be because you're on an older radio, older EdgeTX/OpenTX firmware, or both. It could also be because your TX module is on an earlier firmware version, and you're using a more recent Lua Script.
-
Using a WiFi-capable device such as your smartphone or laptop, scan for the
ExpressLRS TXAccess Point. Connect to this Access Point.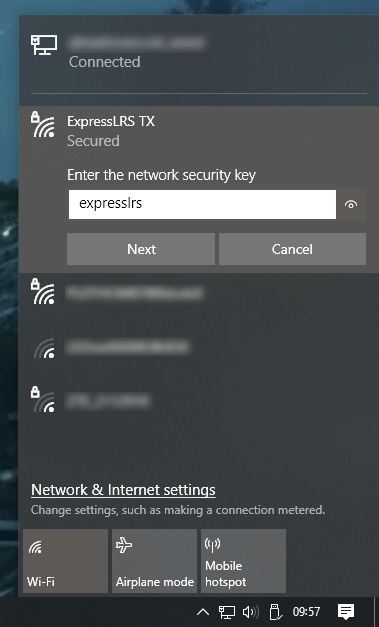
- If your TX Module is previously flashed with your Home WiFi SSID and Password, and it is able to connect to that WiFi Network, then the Access Point will not show up.
expresslrsis the Password for this Access Point.
Where's the Access Point? (click/tap to expand)
If you cannot find the Access Point, make sure the device you're using is capable of connecting to 2.4GHz WiFi Networks. Also try putting the devices closer together.
If you still cannot find the Access Point, chances are that you have set it with your WiFi SSID and Password before, and it has connected to your WiFi Network.
-
Once connected to the
ExpressLRS TXAccess Point, open up a Browser window, type in the IP Address10.0.0.1on the Address Bar, and press Enter. The ExpressLRS Web UI will load. -
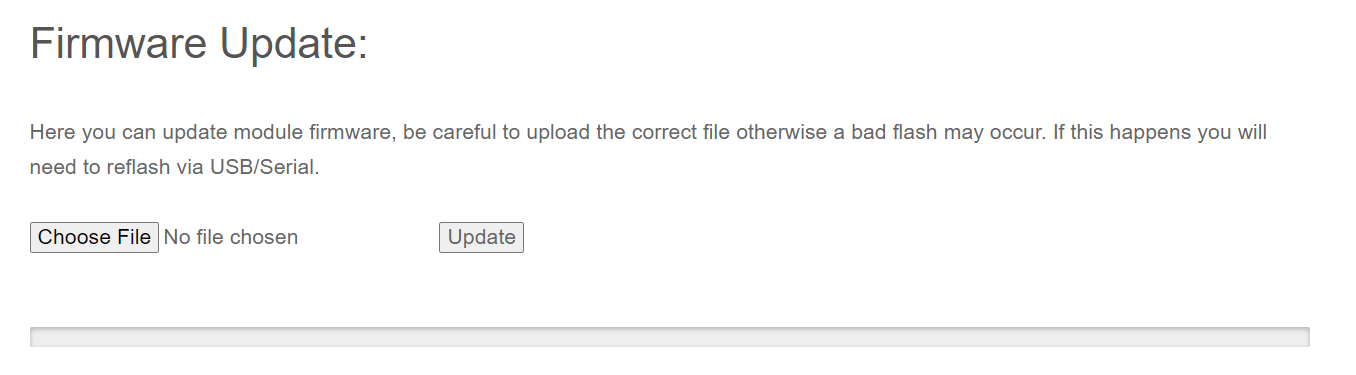
Activate the
UpdateTab.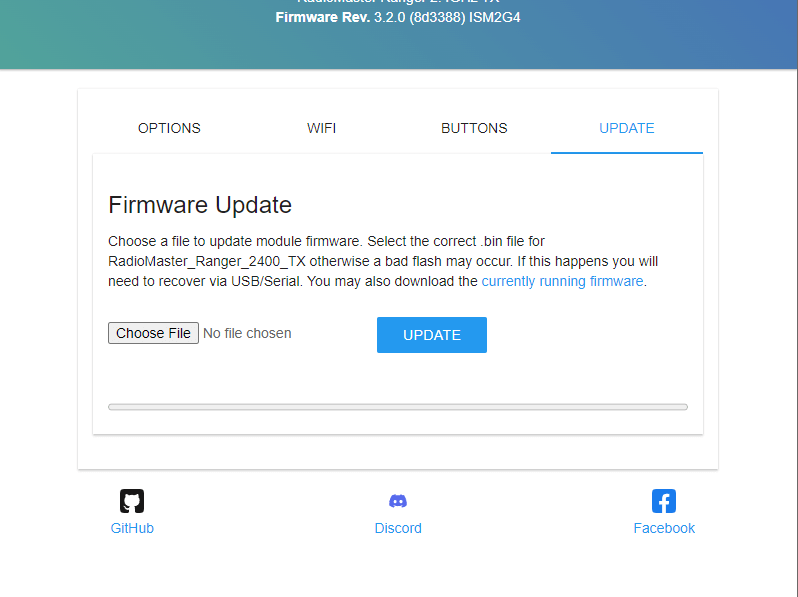
- If your TX Module is still on an earlier firmware version, then there's no Update Tab, and instead, you will need to scroll down to find the Firmware Update section.
-
Drag and drop the Firmware file from the Temp folder into the File Upload field.
- You can also use the Browse or Choose File button and browse for the file yourself, especially if you've copied/moved it somewhere else on an earlier step.
- Click the Update button to start the Updating procedure.
-
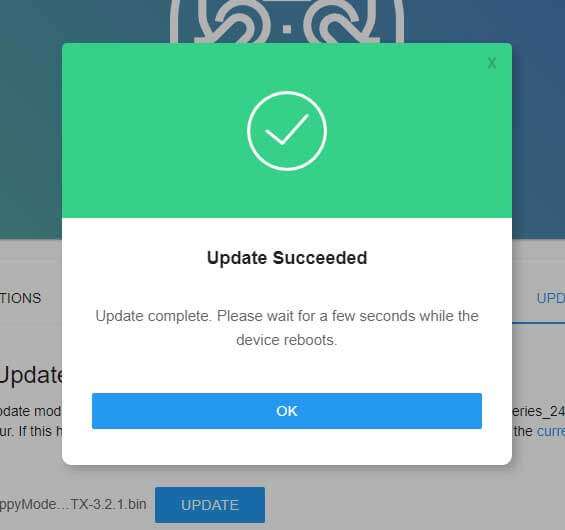
Wait for the firmware file to get uploaded and flashed into your device. It only takes a minute or two, and you will see the Success Popup Message.
-
On your Radio, the
WiFi Runningscreen should disappear and should be back to the WiFi Connectivity Menu of the ExpressLRS Lua Script. - Long-press the RTN Key to exit the ExpressLRS Lua Script. Then reload it to check for the ExpressLRS Firmware version and verify your TX module has been updated.
Heads up!
This option is only possible if you have previously flashed or configured your TX Module with your Home WiFi SSID and Password and the module is able to connect to said WiFi Network.
-
Launch the ExpressLRS Configurator on your Computer.
- Make sure
Official Releasesis active from the horizontal tab. - Ensure you select the Released version you want to flash into your TX module.
- Make sure
-
Select the Device Category and Device target matching your hardware.
-
Device Category:
Jumper 2.4 GHz
-
Device:
Jumper AION T-Lite 2.4GHz TX
-
-
Set the Flashing Method to
WiFi. -
Set the firmware options for your device.
- Regulatory Domain (Mandatory. Choose the domain appropriate for the location or country you're flying).
- Binding Phrase (Optional, but Highly Recommended. Note this phrase as it should be the same on your other devices, or they will not bind or sync).
- Local WiFi Network Credentials (Optional. Will be used the next time the device goes into WiFi mode).
-
Click the Build button.
-
Once the Build process is done, a Temp folder window containing your firmware binaries should pop up.
- Do not close this Temp folder because this is where you will take your firmware from in the later steps. If you are planning on using your phone or tablet to upload the firmware file later, copy the firmware file into your device.
NOTICE
With the release of ExpressLRS 3.3.0 and ExpressLRS Configurator 1.6.0, only one file will show up. Use the
firmware.binfile for the next steps. -
Press the SYS Key on your Radio to display the Tools Menu, where you can find the Lua Scripts.
- Older Radios or those with only one Menu Key must long-press the Menu Key to access the System Menu.
- Consult your Radio User's Manual on how to access the System Menu.
-
Scroll down and select
ExpressLRSLua Script. - If the script is nowhere to be found, download it from this page and save it into your Radio SD Card Scripts/Tools/ folder.
-
Press Enter to Load it.
- If the script is stuck on a "Loading..." screen, return to the Radio Preparation Page and make sure you have configured your radio properly for ExpressLRS use.
-
Scroll down and select
WiFi Connectivityand press Enter. -
Select
Enable WiFiand press Enter. -
The
WiFi Runningscreen will show up. Your TX module is now in WiFi mode.- Do not worry if the Script stops and shows a Syntax Error. The module is still in WiFi mode. The Syntax Error could be because you're on an older radio, older EdgeTX/OpenTX firmware, or both. It could also be because your TX module is on an earlier firmware version, and you're using a more recent Lua Script.
-
With your module now in WiFi Mode and it was able to connect to your Local WiFi Network, open a Browser window on any WiFi-capable device that is also connected to the same Local WiFi Network. Type in the Address http://elrs_tx.local on your browser's Address Bar. The ExpressLRS Web UI should load.
- If your browser cannot resolve this address and it cannot load the ExpressLRS Web UI, this means that MDNS is not working on your device or network.
MDNS is not working! (click/tap to expand)
- Open up a Command Prompt window on your computer.
- Execute the command
arp -a, which will list all the devices in the Network. - Use each of the IP Addresses marked as
Dynamicas a URL in your Browser until you get to the ExpressLRS Web UI.
- Log in into your Router dashboard.
- Check the DHCP List and look for the "elrs" device.
- Take note of the IP Address given by your router.
- Use this IP address in your Browser as the URL.
-
Activate the
UpdateTab. - If your TX Module is still on an earlier firmware version, then there's no Update Tab, and instead, you will need to scroll down to find the Firmware Update section.
-
Drag and drop the Firmware file from the Temp folder into the File Upload field.
- You can also use the Browse or Choose File button and browse for the file yourself, especially if you've copied/moved it somewhere else on an earlier step.
- Click the Update button to start the Updating procedure.
-
Wait for the firmware file to get uploaded and flashed into your device. It only takes a minute or two, and you will see the Success Popup Message.
-
On your Radio, the
WiFi Runningscreen should disappear and should be back to the WiFi Connectivity Menu of the ExpressLRS Lua Script. - Long-press the RTN Key to exit the ExpressLRS Lua Script. Then reload it to check for the ExpressLRS Firmware version and verify your TX module has been updated.
Heads up!
This option is only possible if you have previously flashed or configured your TX Module with your Home WiFi SSID and Password and the module is able to connect to said WiFi Network.
MDNS must also be working so your browser can resolve the address http://elrs_tx.local and load the ExpressLRS Web UI from said address.
-
Press the SYS Key on your Radio to display the Tools Menu, where you can find the Lua Scripts.
- Older Radios or those with only one Menu Key must long-press the Menu Key to access the System Menu.
- Consult your Radio User's Manual on how to access the System Menu.
-
Scroll down and select
ExpressLRSLua Script. - If the script is nowhere to be found, download it from this page and save it into your Radio SD Card Scripts/Tools/ folder.
-
Press Enter to Load it.
- If the script is stuck on a "Loading..." screen, return to the Radio Preparation Page and make sure you have configured your radio properly for ExpressLRS use.
-
Scroll down and select
WiFi Connectivityand press Enter. -
Select
Enable WiFiand press Enter. -
The
WiFi Runningscreen will show up. Your TX module is now in WiFi mode.- Do not worry if the Script stops and shows a Syntax Error. The module is still in WiFi mode. The Syntax Error could be because you're on an older radio, older EdgeTX/OpenTX firmware, or both. It could also be because your TX module is on an earlier firmware version, and you're using a more recent Lua Script.
-
Launch the ExpressLRS Configurator on your Computer.
- Make sure
Official Releasesis active from the horizontal tab. - Ensure you select the Released version you want to flash into your TX module.
- Make sure
-
Select the Device Category and Device target matching your hardware.
-
Device Category:
Jumper 2.4 GHz
-
Device:
Jumper AION T-Lite 2.4GHz TX
-
-
Set the Flashing Method to
WiFi. -
Set the firmware options for your device.
- Regulatory Domain (Mandatory. Choose the domain appropriate for the location or country you're flying).
- Binding Phrase (Optional, but Highly Recommended. Note this phrase as it should be the same on your other devices, or they will not bind or sync).
- Local WiFi Network Credentials (Optional. Will be used the next time the device goes into WiFi mode).
-
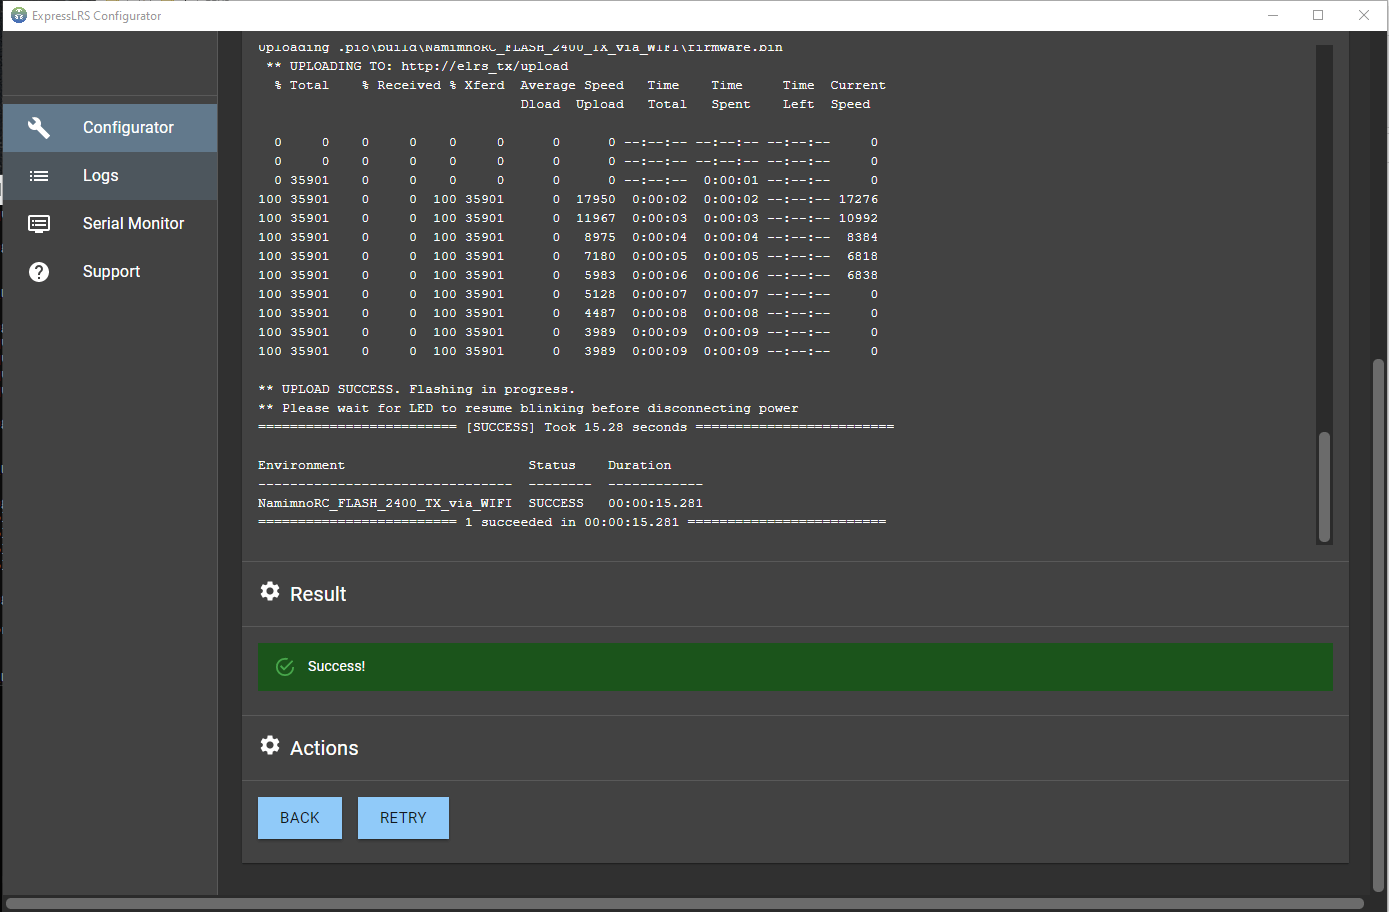
Click the Flash button.

-
Wait for the upload to finish. A Green Success bar will show up in the ExpressLRS Configurator.
-
On your Radio, the
WiFi Runningscreen should disappear and should be back to the WiFi Connectivity Menu of the ExpressLRS Lua Script. - Long-press the RTN Key to exit the ExpressLRS Lua Script. Then reload it to check for the ExpressLRS Firmware version and verify your TX module has been updated.

Info
ETX Passthrough is the result of the collaborative effort between RadioMaster, EdgeTX and ExpressLRS.
It is only available on Radios with Internal ExpressLRS Modules.
Before you start, ensure you have the latest EdgeTX firmware version on your Radio. Consult the EdgeTX documentation regarding the updating process.
For the Jumper T-Lite V2, update it to at least EdgeTX 2.8.0 (f6d140e) for full EdgeTX support.
Hot Tip
To ensure updating success with this method, update the EdgeTX firmware on the radio to at least EdgeTX 2.8.0 (f6d140e, released Nov. 27, 2022). The EdgeTX Firmware that comes with this radio is a pre-release version.
Simplest EdgeTX Updating Procedure (click/tap to expand)
- Visit http://buddy.edgetx.org/.
- Select the EdgeTX version and the Radio Model you want to update from the Left-hand side column.
- Click the Download .bin button at the bottom of the page.
- Save the firmware file into your Radio's SD Card, inside the
FirmwareFolder. - Reboot the Radio into DFU/Bootloader mode.
- Turn off your radio.
- Press and hold the two horizontal Trim switches then press the Power button. The Screen should Light up. Let go of the buttons.
- Some Radios have a different procedure, like the BetaFPV Lite Radio 3 Pro. Consult the Manual for the steps to get it into this DFU/Bootloader mode.
- Select
Write Firmware. - Navigate to the EdgeTX firmware file you just downloaded.
- Follow the screen prompts.
- Once Writing is complete, reboot the radio.
- Check the Radio's Version Page to verify you have the version you need.
Also, make sure you have an internal ELRS module on your Radio. The following steps only apply to handsets with ExpressLRS-specific internal modules.
The current Model on the radio should be using the Internal ExpressLRS Module. Test this by loading the ExpressLRS Lua Script from the Tools Menu.
There's one more setting you want to make sure is set properly before proceeding.
- Long-press the SYS Key on the Radio.
- Consult your Radio User's Manual on how to get to the System Menu.
- Press the PAGE Keys until you reach the Hardware Page.
- On this radio, a short-press on the SYS Key is equivalent to < PAGE while a short-press on the MDL Key is equivalent to PAGE > .
- Scroll down until you see the Serial Ports settings.
- Press the Down button.
- Select or highlight USB-VCP by pressing the Down or Up Keys. Press Enter to edit the setting and use the Down or Up Keys to set it to
CLImode. Press Enter once more to confirm the changes. - Exit the Hardware menu by long-pressing RTN Key.
Now follow the next steps to get your Internal ExpressLRS Module Updated:
-
Connect your powered-up Radio to your Computer via a USB Data Cable.
-
On your Radio, scroll down and select
USB Serial(VCP)then press the Enter Key. Set your Radio aside in the meantime.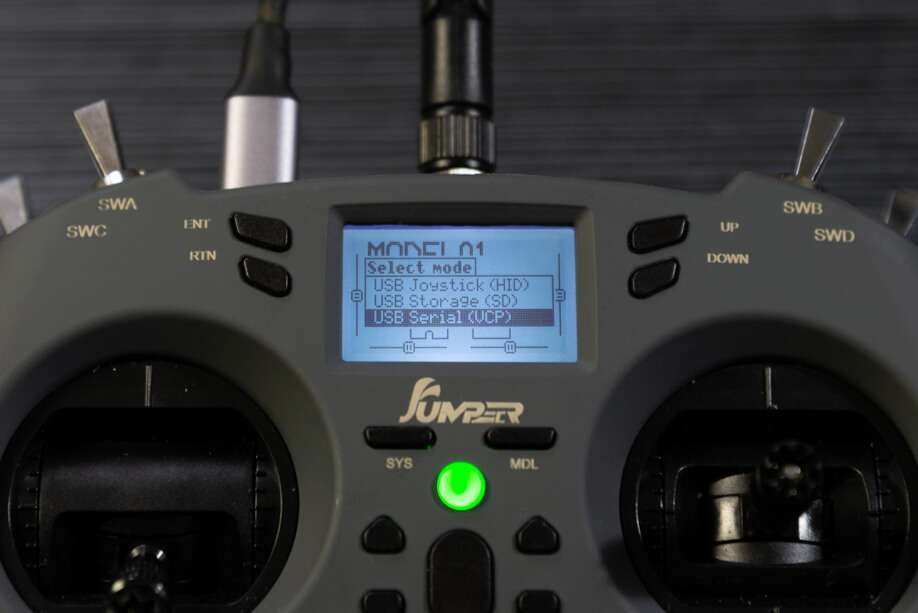
-
On your Computer, check whether your Radio is being recognized correctly as a STMicroelectronics Virtual COM Port device.
Important
This is a vital step and a common failure point. Pay attention.
Windows Users can use Device Manager to check whether the Radio is being recognized correctly.
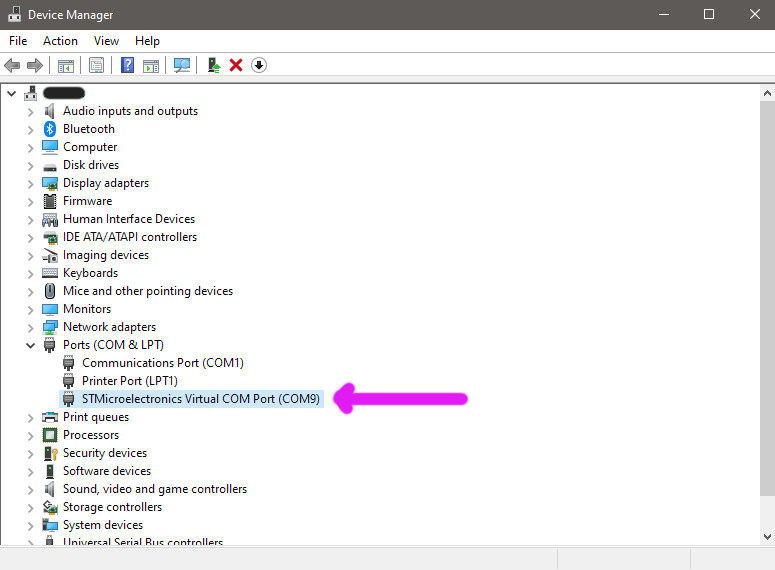
Yellow Caution Triangles in the Device Manager, or any mention of
<Radio Name> Serial Portmeans drivers aren't installed.Download the Driver package first. Unzip/extract the contents of the package and run/execute (double-click) the installer file (
VCP_V1.5.0_Setup_W7_x64_64bits.exefor Windows 10/11 Users).Once Drivers are installed, check again if the Radio is now being recognized correctly. You may have to unplug-replug the USB Cable first or even reboot your computer.
You only have to do this once usually.
-
Launch the ExpressLRS Configurator on your Computer.
- Make sure
Official Releasesis active from the horizontal tab. - Ensure you select the Released version you want to flash into your TX module.
- Make sure
-
Select the Device Category and Device target matching your hardware.
-
Device Category:
Jumper 2.4 GHz
-
Device:
Jumper AION T-Lite 2.4GHz TX
-
-
Set the Flashing Method to
EdgeTXPassthrough -
Set the firmware options for your device.
- Regulatory Domain (Mandatory. Choose the domain appropriate for the location or country you're flying).
- Binding Phrase (Optional, but Highly Recommended. Note this phrase as it should be the same on your other devices, or they will not bind or sync).
- Local WiFi Network Credentials (Optional. Will be used the next time the device goes into WiFi mode).
-
Click the Flash button.
-
Wait for the process to finish. A Green Success bar will show up in the ExpressLRS Configurator.
- Unplug your Radio from USB.
-
Using the ExpressLRS Lua Script from the Tools Menu, check if the firmware version got updated.