NamimnoRC Voyager

Attention
ExpressLRS 4.x no longer supports STM32-based hardware. This includes the Happymodel PP, ES915 Tx and Rx, early NamimnoRC Flash and Voyager, FrSky R9, SIYI and ImmersionRC hardware.
The STM32 platform's limited compute resources and feature gaps (WiFi, Bluetooth, Backpacks) made for an inferior version of ExpressLRS that necessitated disproportionate maintenance burden for the Dev Team.
Flashing/Updating the TX Module Firmware

-
Launch the ExpressLRS Configurator on your Computer.
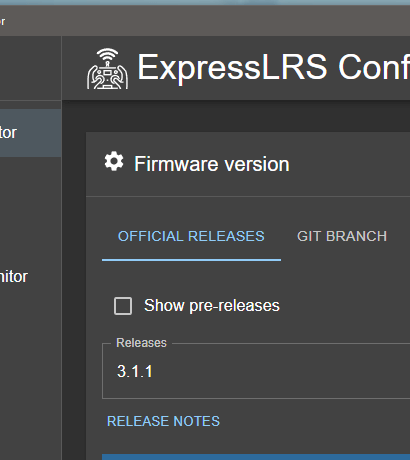
- Make sure
Official Releasesis active from the horizontal tab. - Ensure you select the Released version you want to flash into your TX module.
- Make sure
-
Select the Device Category and Device target matching your hardware.
-
Device Category:
NamimnoRC 900 MHz
-
Device:
NamimnoRC Voyager 900MHz TX
-
-
Set the Flashing Method to
Stock_BL -
Set the firmware options for your device.
- Regulatory Domain (Mandatory. Choose the domain appropriate for the location or country you're flying).
- Binding Phrase (Optional, but Highly Recommended. Note this phrase as it should be the same on your other devices, or they will not bind or sync).
-
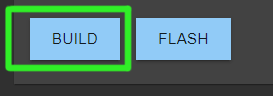
Click the Build button.
-
Wait for the process to finish. A Green Success bar will show up in the ExpressLRS Configurator.
-
A Temp folder will open up with the firmware.elrs file. Copy-paste the firmware.elrs file into your Radio's SD Card (preferably to the
/FIRMWAREfolder for easy access). -
On your radio, open the System Menu.
- On newer radios, you can press the SYS key to open the System Menu
- On older radios, or radios that only have a menu key, long-press the Menu key to open the System Menu
-
Using the Page key/s, navigate to the SD-HC Card page, scroll-down and open the
FIRMWAREfolder where you can find the firmware.elrs file. -
Highlight the file and press-hold the Enter button and select "Flash External ELRS". Wait for the firmware to be written.
No Sync (click/tap to expand)
- Make sure you have updated the OpenTX/EdgeTX firmware of your radio to a newer version
- Make sure the current model selected on the radio is set up for ExpressLRS Use. See the [Radio Preparation] guide.
-
With the ExpressLRS Lua Script in the Tools page, verify if the firmware version has been updated.

Attention
Only use this method if the firmware has been corrupted.
-
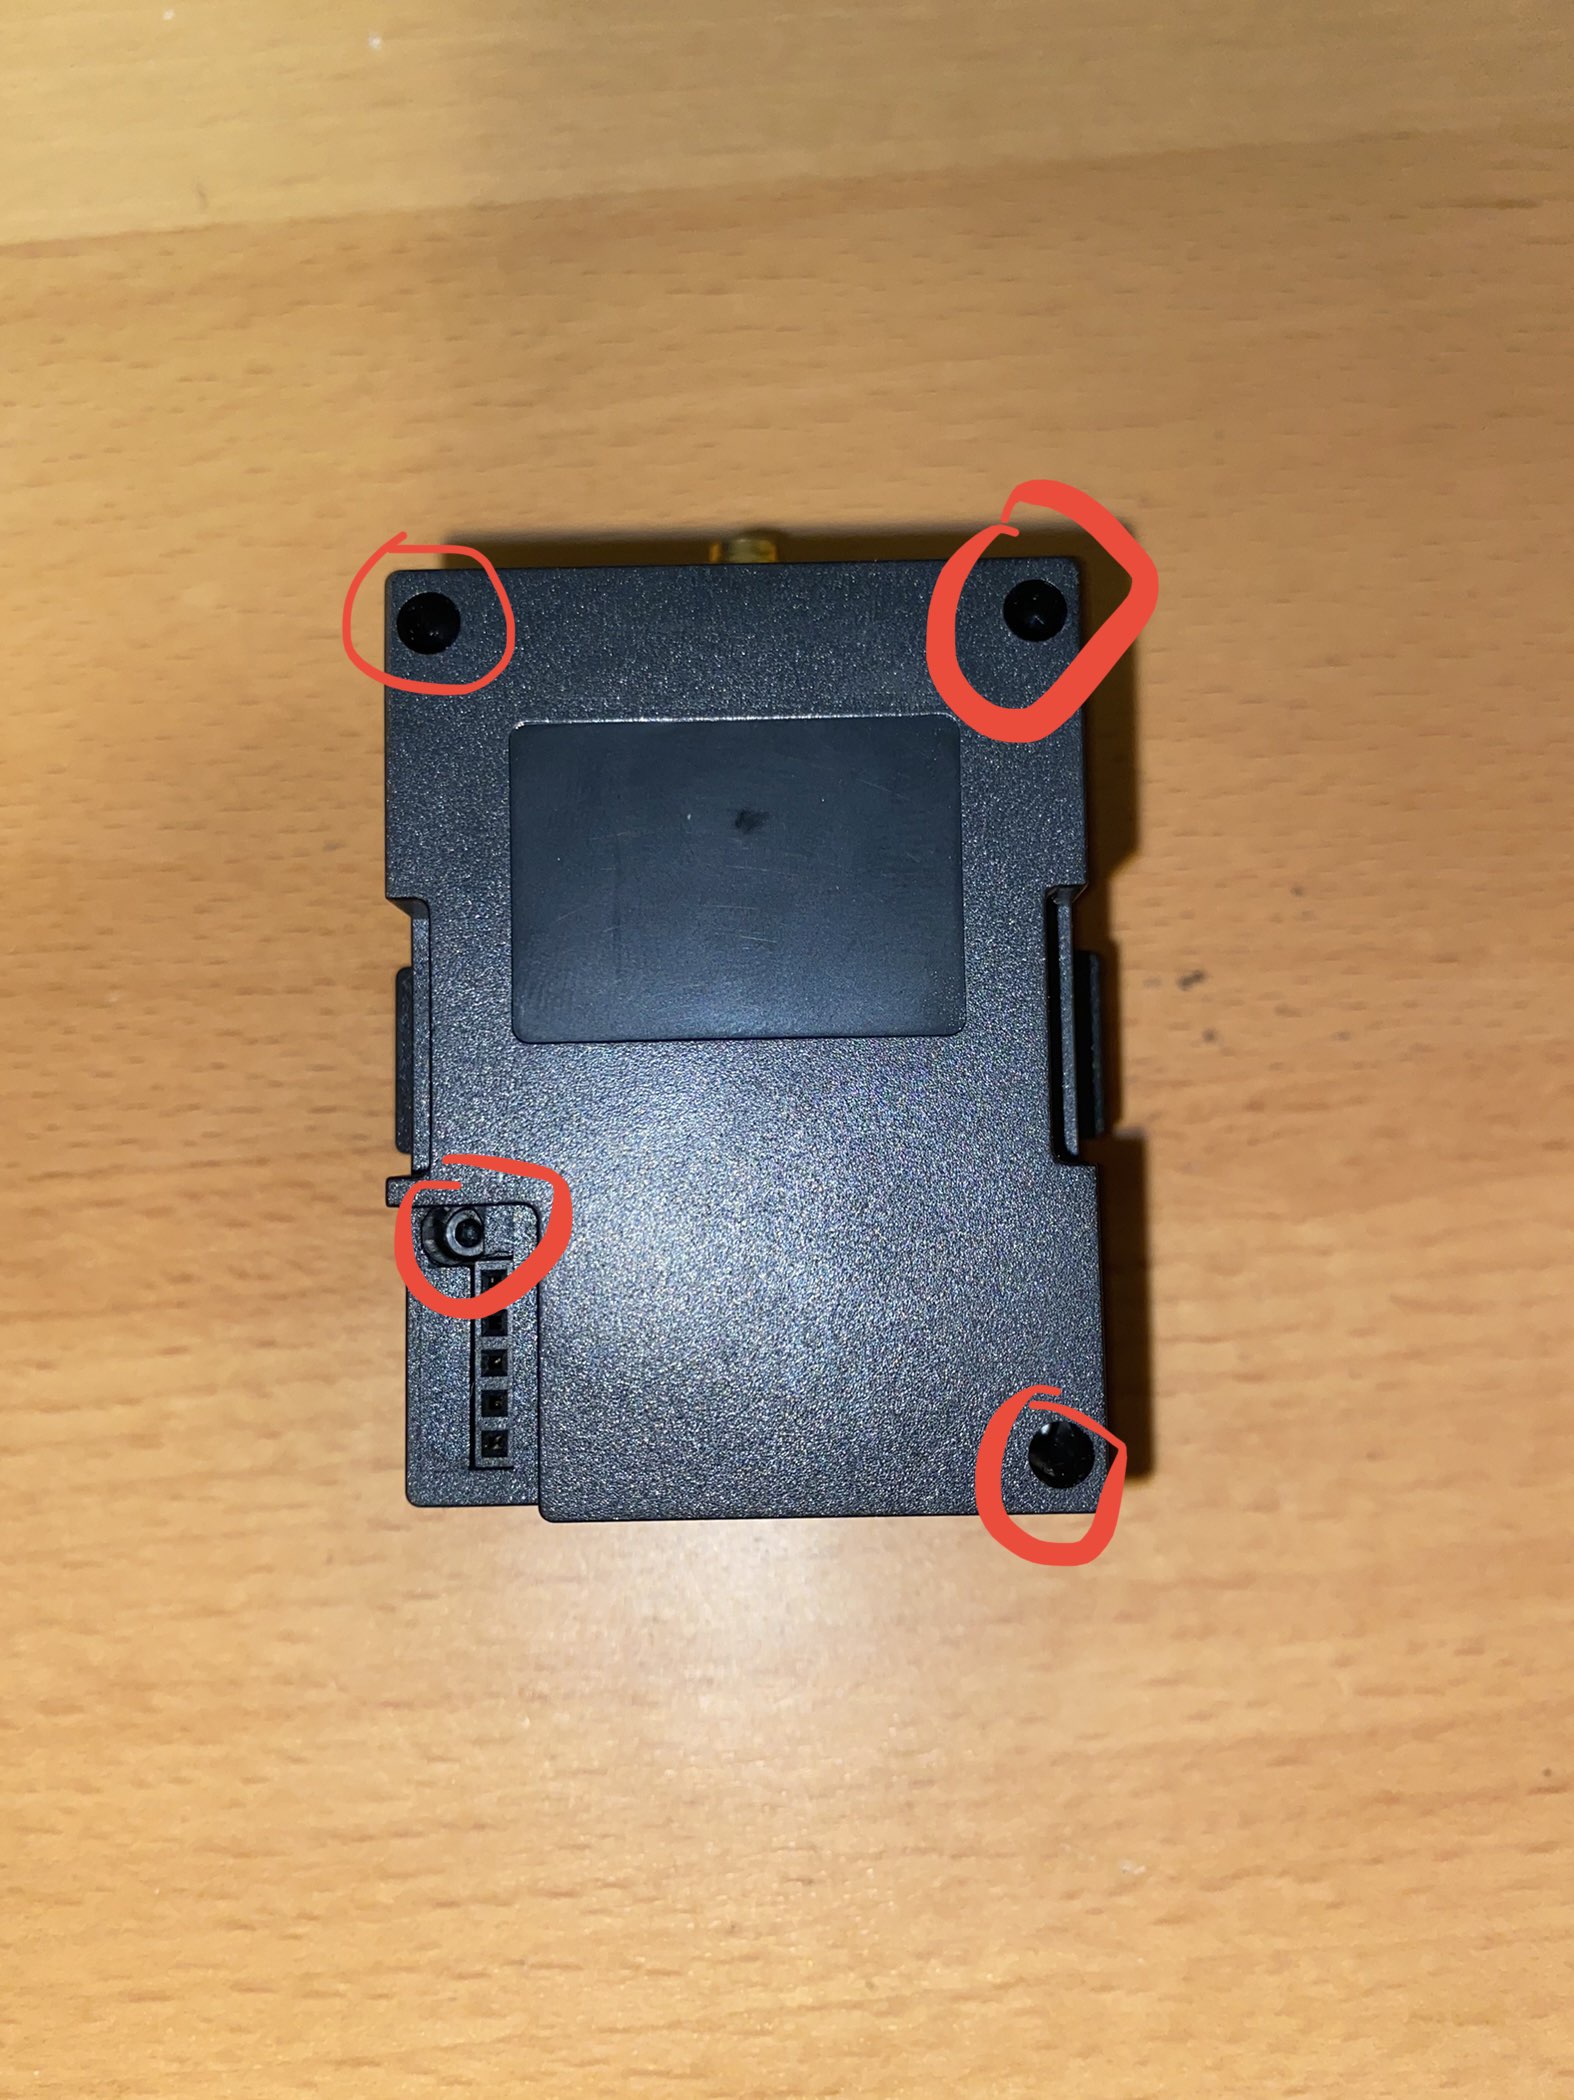
Disassemble your TX Module to get access to the mainboard.

-
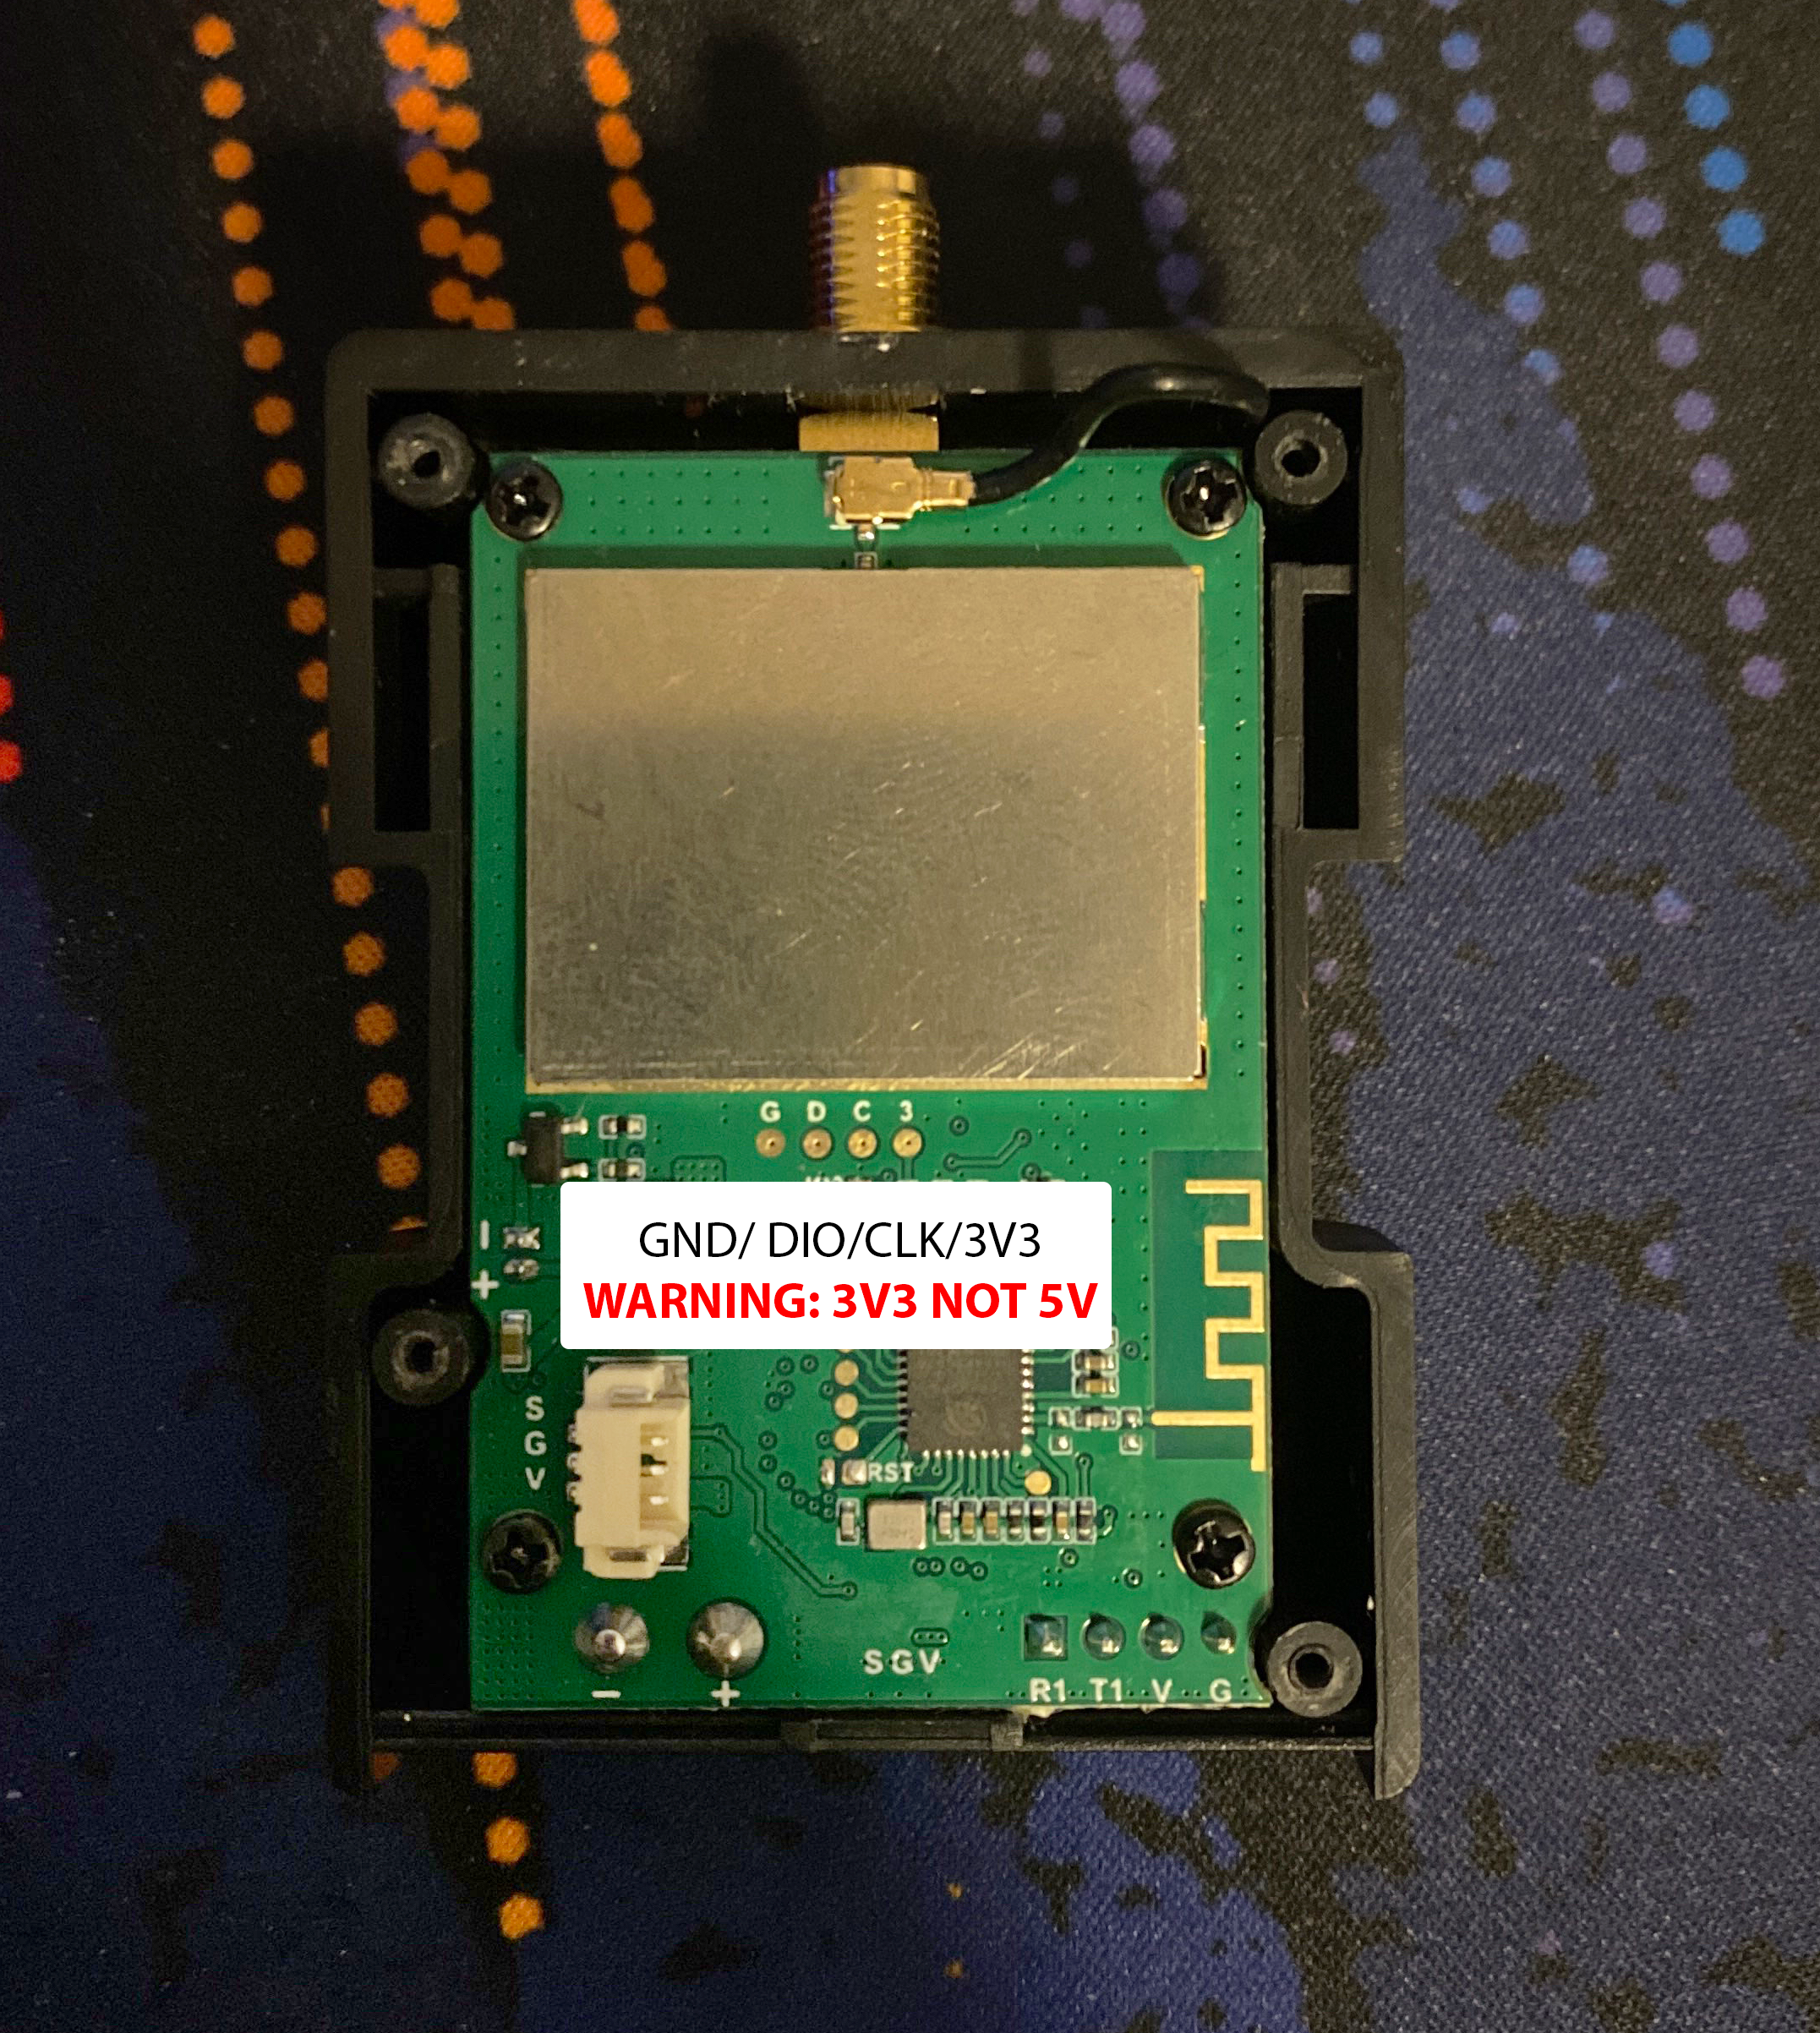
Connect your STLink V2 dongle to the pads shown in the image below.
-
Connect your STLink V2 dongle to your Computer's USB Port. Make sure it is being detected correctly.
-
Launch the ExpressLRS Configurator on your Computer.
- Make sure
Official Releasesis active from the horizontal tab. - Ensure you select the Released version you want to flash into your TX module.
- Make sure
-
Select the Device Category and Device target matching your hardware.
-
Device Category:
NamimnoRC 900 MHz
-
Device:
NamimnoRC Voyager 900MHz TX
-
-
Set the Flashing Method to
STLink -
Set the firmware options for your device.
- Regulatory Domain (Mandatory. Choose the domain appropriate for the location or country you're flying).
- Binding Phrase (Optional, but Highly Recommended. Note this phrase as it should be the same on your other devices, or they will not bind or sync).
-
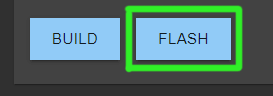
Click the Flash button.
-
Wait for the process to finish. A Green Success bar will show up in the ExpressLRS Configurator.
-
Disconnect the STLink V2 dongle from the TX Module PCB and reassemble the module.
- Reattach your TX Module into your Radio and, using the ExpressLRS Lua Script, verify if the firmware version has been updated.